WAMP Server Installation
WAMP is sometimes used as an abbreviated name for the software stack Windows, Apache, MySQL, PHP. It is derived from LAMP which stands for Linux, Apache, MySQL, and PHP. As the name implies, while LAMP is used on Linux servers, WAMP is used on Windows servers.
Read More about WAMP Server
Steps to download the WAMP Server :-
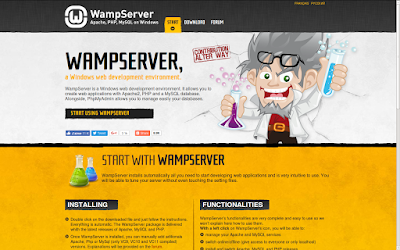
Step 1:- To download WAMP server on your sytstem first open your web browser (Google Chrome ,Firefox) than search on Google for WAMP server and Click on the Link www.wampserver.com
or
Simply visit the website www.wampserver.com this will open WAMP server Official Website directly.
This Webpage will be opened and than click on download from here you will get downloading LINKS of WAMP server.
Step 2:- After this download the WAMP server (You will see 2 options 64 bit and 32 bit version system download the WAMP file according to the your system if your system is 64 bit than go for 64 bit WAMP server file if not than go for the 32 bit WAMP server file)
Steps for Installation of WAMP Server :-
Step 1:- Download the WAMP Server from www.wampserver.com
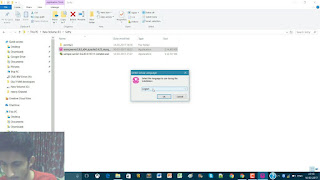
Step2:- Now after downloading the file open the folder where you downloaded it ,than double click on the file or Run the file, after this WAMP Server setup will be open.
Step 3:- Select the WAMP server Language (English or German) than click OK.
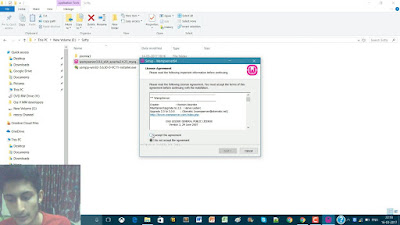
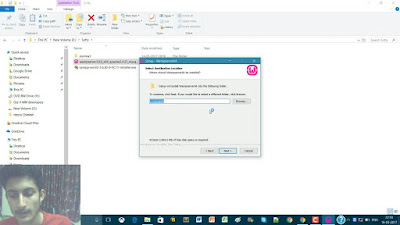
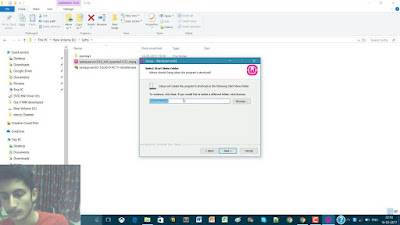
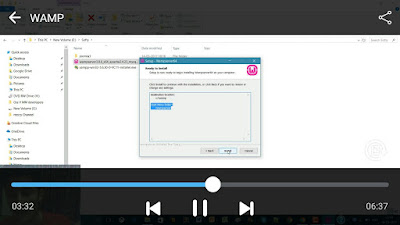
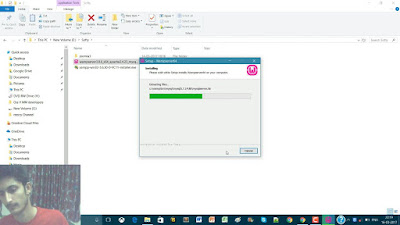
Step 4:-After this simply click on Next and accept the agreement ,and than click again next ,after this choose a drive where you want to install the WAMP server (click next) and than name the file click next than click on Install.(Installation will be started)
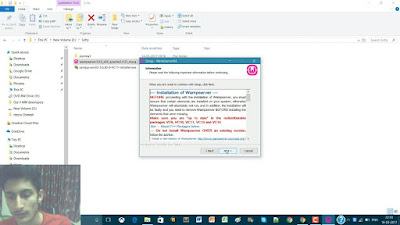
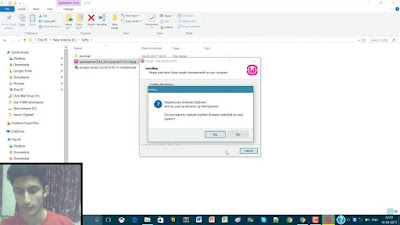
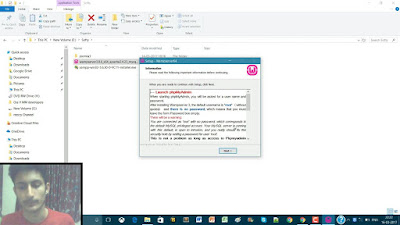
Step 5:-During the Installation ,New window will be opened where you have to select the default web browser and text editor ,after this Installation will be completed and than Information page of WAMP Server will be open read it and click Next Installation is Completed than click on Finsh.
Step 6:- WAMP server Icon will be created in desktop simply click on it and run the WAMP Server, WAMP server is installed.


