Learn How to Install Ubuntu in your VirtualBox or How to Install Any Operating System in your VirtualBox.
A VirtualBox or VB is a software virtualization package that installs on an operating system as an application. VirtualBox allows additional operating systems to be installed on it, as a Guest OS, and run in a virtual environment. In 2010, VirtualBox was the most popular virtualization software application. Supported operating systems include Windows XP, Windows Vista, Windows 7, Mac OS X,Windows 10, Linux, Solaris, and OpenSolaris.
Steps to Install Ubuntu in VirtualBox :-
Ubuntu is a Debian-based Linux operating system for personal computers, tablets and smartphones, where Ubuntu Touch edition is used; and also runs network servers, usually with the Ubuntu Server edition, either on physical or virtual servers (such as on mainframes) or with containers, that is with enterprise-class features; runs on the most popular architectures, including server-class ARM-based.
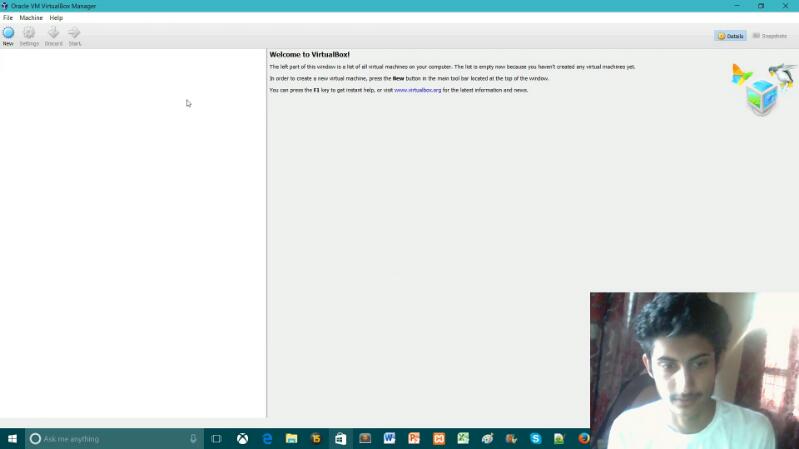
Step 1 – Open the VirtualBox (Click here to Know How to Download and Install VirtualBox) After Opening the VirtualBox click on New to Create a Space for New OS in VirtualBox.
Step 2 – After this window will open here you need to fill all these option’s :
- Name
- Type
- Version
- Memory Space
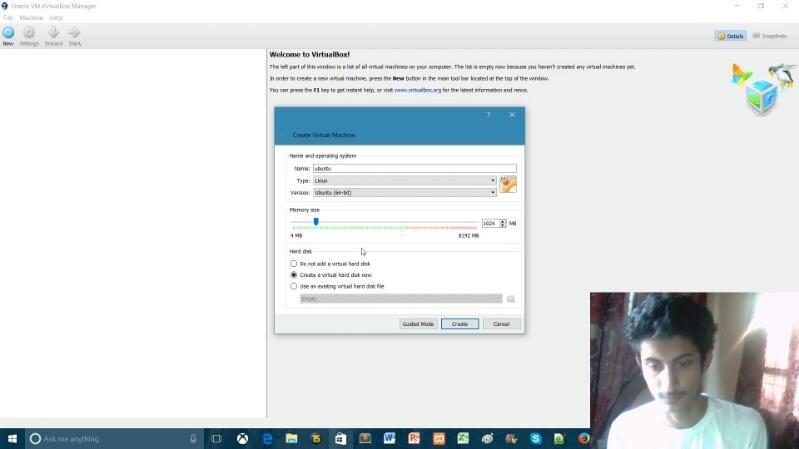
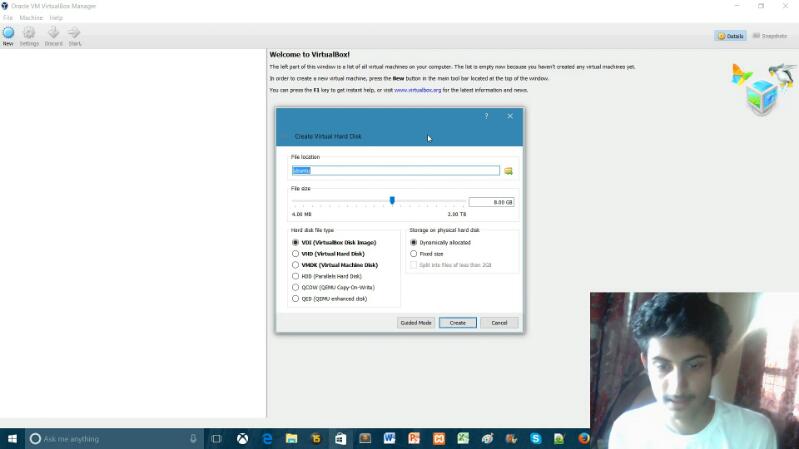
Step 3 – Keep everything same as in this picture shown and only select the Memory Space Choose almost 26 GB space.
- Hard disk file type – VDI
- Storage on physical hard disk – dynamically allocated
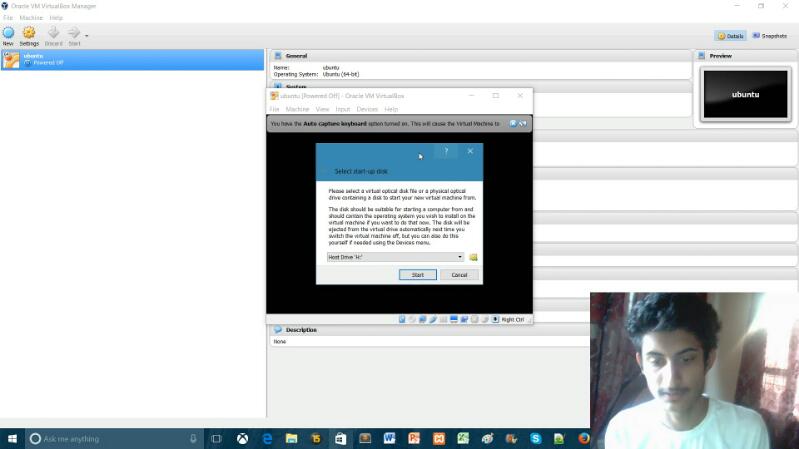
Step 4 – Everything is done now click on Start ,but make sure in your system BIOS setting Virtualization is enable if it is not enable than VirtualBox will not work. (Learn How to Enable Virtualization in BIOS)
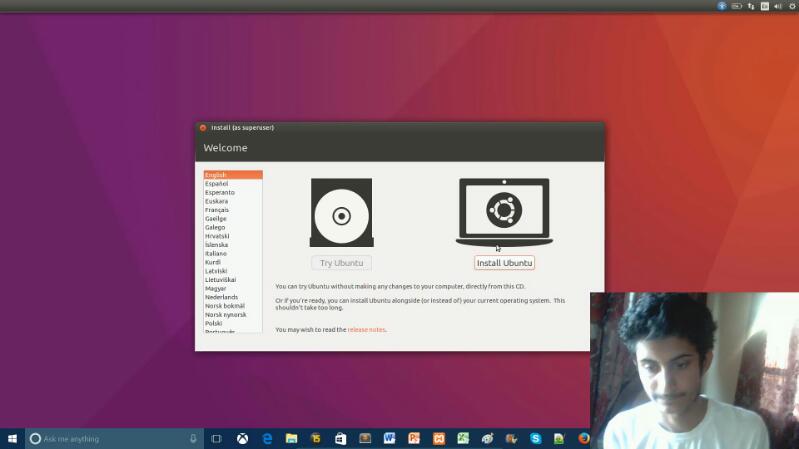
Step 5 – After clicking on Start this window will be open ,now choose a file of operating system from your system where you have downloaded it.
- Click on the INSTALL Ubuntu.
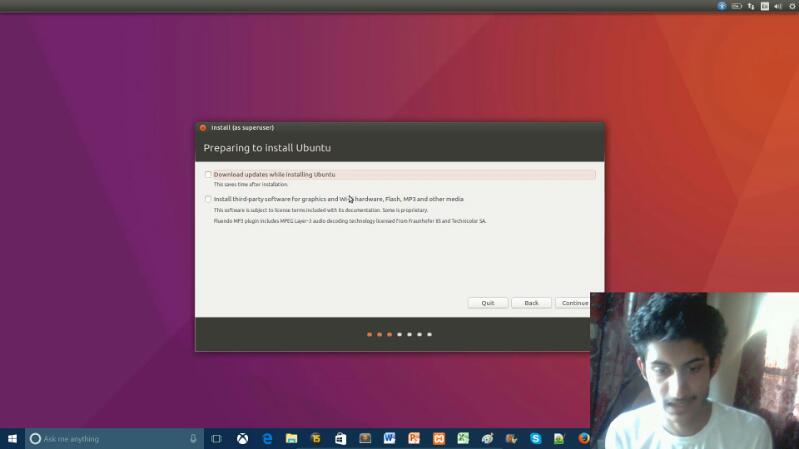
- Select Install MP3 ,Flash Player other option and Click on Continue.
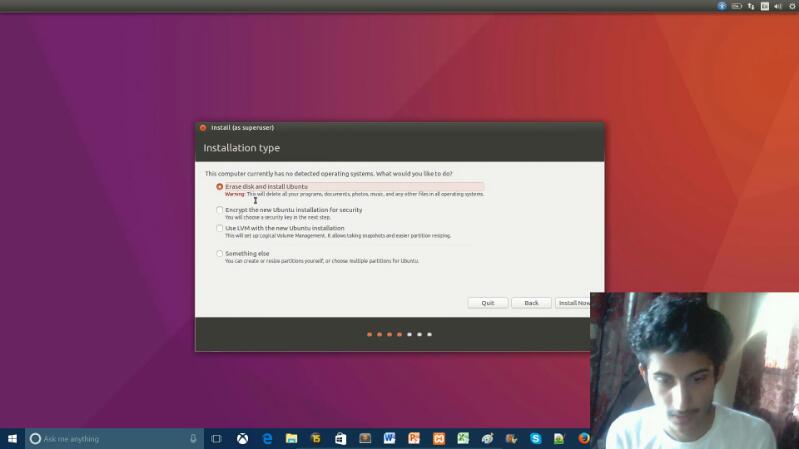
- Now select the 1st Option Erase all data or you can choose other options also it’s depend you if you are installing first time than select it and Click on INSTALL NOW.
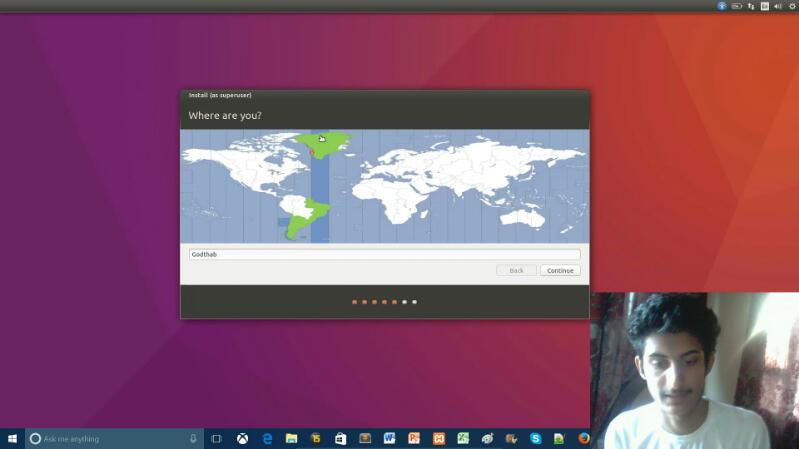
- Choose your Location where you Live.
- Now select the Language (this language is for Keyword Layout) after selecting the language click on Continue.

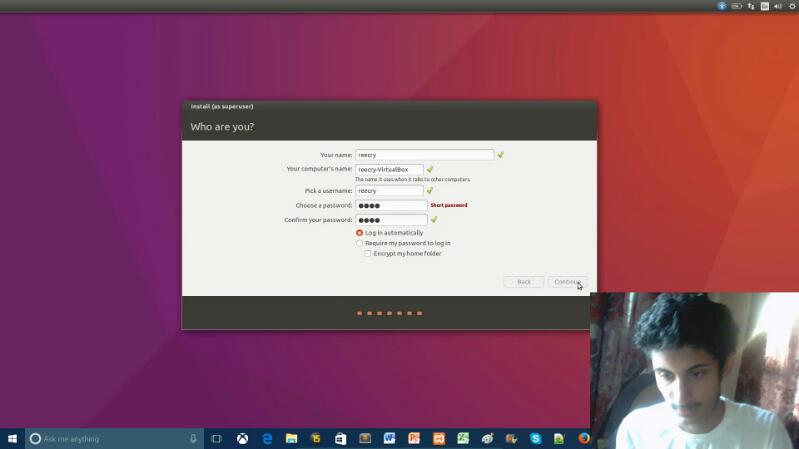
- Now fill the form : Write your Name ,Pick user name and give a Password than click on Continue.
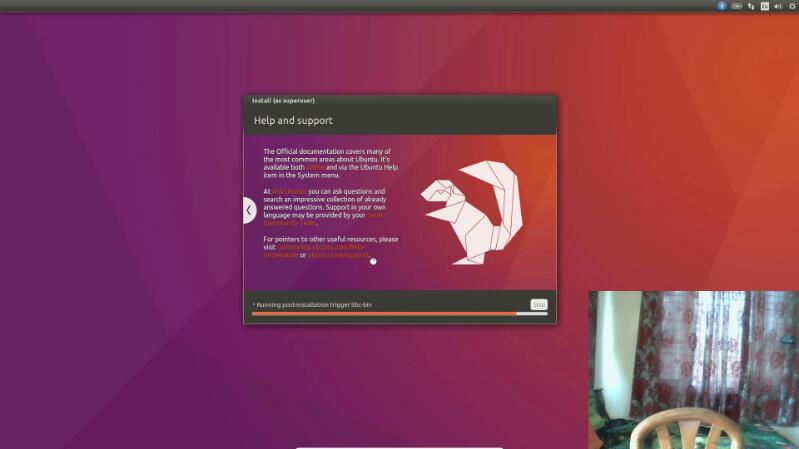
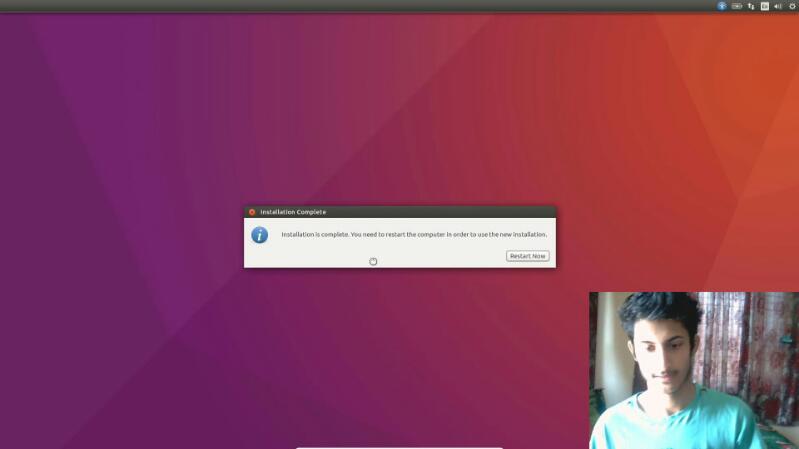
- Now Install will be started wait until the Installation is done.
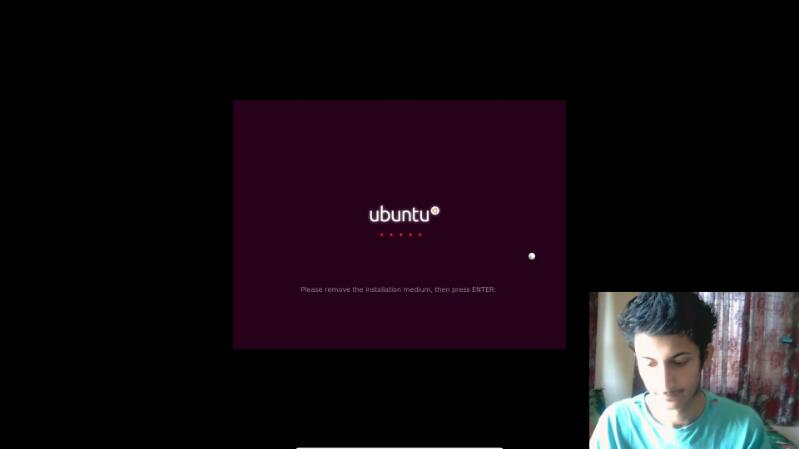
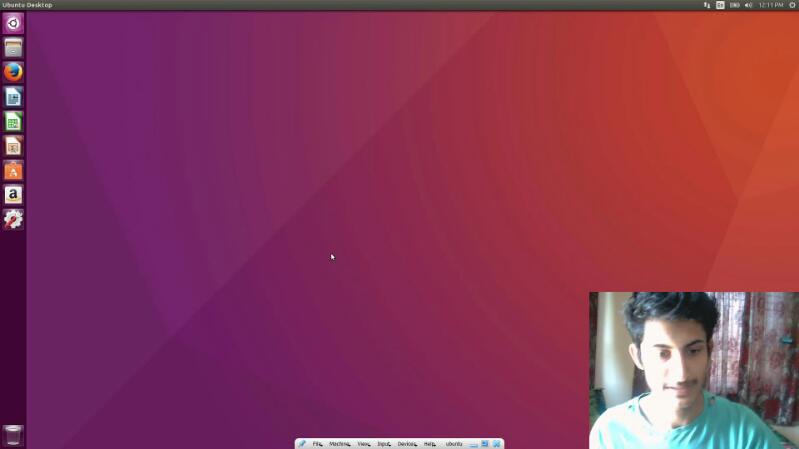
- After Booting Ubuntu will be open ,now you can use Ubuntu in your VirtualBox any time.